PVE个人安装指南
配置 pve 的社区源
rm /etc/apt/sources.list.d/pve-enterprise.list &>/dev/null || true echo “deb http://download.proxmox.com/debian/pve buster pve-no-subscription” > /etc/apt/sources.list.d/pve-install-repo.list wget http://download.proxmox.com/debian/proxmox-ve-release-6.x.gpg -O /etc/apt/trusted.gpg.d/proxmox-ve-release-6.x.gpg chmod +r /etc/apt/trusted.gpg.d/proxmox-ve-release-6.x.gpg # optional, if you have a non-default umask
更新系统
apt update && apt full-upgrade -y
安装必要的包
apt install -y ifupdown2 net-tools zsh git vim aptitude fio pv gcc make
aptitude install pve-headers-uname -r
重度定制 - 安装 amd 的 raid 驱动
git clone https://github.com/thopiekar/rcraid-dkms.git- Append
modprobe.blacklist=ahcitoGRUB_CMDLINE_LINUX_DEFAULTin/etc/default/grub update-grubreboot
NVME 硬盘
apt-get install nvme-cli
nvme smart-log /dev/nvme0 | grep "^temperature"

# 随机写
fio -filename=/dev/sdb -direct=1 -iodepth 1 -thread -rw=randwrite -ioengine=psync -bs=16k -size=5G -numjobs=30 -runtime=1000 -group_reporting -name=mytest
fio -filename=/dev/nvme0n1 -direct=1 -iodepth 1 -thread -rw=randwrite -ioengine=psync -bs=16k -size=50G -numjobs=30 -runtime=1000 -group_reporting -name=mytest
fio -filename=/dev/nvme1n1 -direct=1 -iodepth 1 -thread -rw=randwrite -ioengine=psync -bs=16k -size=50G -numjobs=30 -runtime=1000 -group_reporting -name=mytest
fio -filename=/dev/nvme2n1 -direct=1 -iodepth 1 -thread -rw=randwrite -ioengine=psync -bs=16k -size=50G -numjobs=30 -runtime=1000 -group_reporting -name=mytest
fio -filename=/dev/nvme3n1 -direct=1 -iodepth 1 -thread -rw=randwrite -ioengine=psync -bs=16k -size=50G -numjobs=30 -runtime=1000 -group_reporting -name=mytest

fio -filename=/PHLJ109200558P0HGN/123 -direct=1 -iodepth 1 -thread -rw=randwrite -ioengine=psync -bs=16k -size=5G -numjobs=30 -runtime=1000 -group_reporting -name=mytest

# 随机读写
fio -filename=/dev/nvme0n1 -direct=1 -iodepth 1 -thread -rw=randrw -rwmixread=70 -ioengine=psync -bs=16k -size=10000G -numjobs=300 -runtime=300000 -group_reporting -name=mytest -ioscheduler=none
fio -filename=/dev/nvme4n1 -direct=1 -iodepth 1 -thread -rw=randrw -rwmixread=70 -ioengine=psync -bs=16k -size=10000G -numjobs=300 -runtime=300000 -group_reporting -name=mytest -ioscheduler=none

fio -filename=/dev/nvme0n1 -direct=1 -iodepth 1 -thread -rw=randrw -rwmixread=70 -ioengine=psync -bs=16k -size=2000G -numjobs=300 -runtime=300000 -group_reporting -name=mytest -ioscheduler=none
fio -filename=/PHLJ109200558P0HGN/123 -direct=1 -iodepth 1 -thread -rw=randrw -rwmixread=70 -ioengine=psync -bs=16k -size=2000G -numjobs=300 -runtime=300000 -group_reporting -name=mytest -ioscheduler=none


# 懒人方法
hdparm -Tt --direct /dev/nvme4n1p1

# 持续写入
while true; do pv </dev/zero >/nvme0n1/1 || true; done
NVME ESXI查看
# 查看设备列表
esxcli storage core device list

# 查看温度
esxcli storage core device smart get -d t10.NVMe____INTEL_SSDPE2KX080T8_____________________000129F1CAE4D25C
esxcli storage core device smart get -d t10.NVMe____INTEL_SSDPE2KX080T8_____________________0001373A6AE4D25C


watch -n 4 "esxcli storage core device smart get -d t10.NVMe____INTEL_SSDPE2KX080T8_____________________000129F1CAE4D25C"
NVIDIA A100配置
nvidia-smi --persistence-mode=1

# 打开mig开关
nvidia-smi -i 0

# 创建gpu instance
nvidia-smi mig -i 0 -cgi 9,14,19,19
nvidia-smi mig -i 0 -cci

nvidia-smi mig -i 0 -cgi 19

# 预览信息
nvidia-smi
nvidia-smi -L
nvidia-smi -l
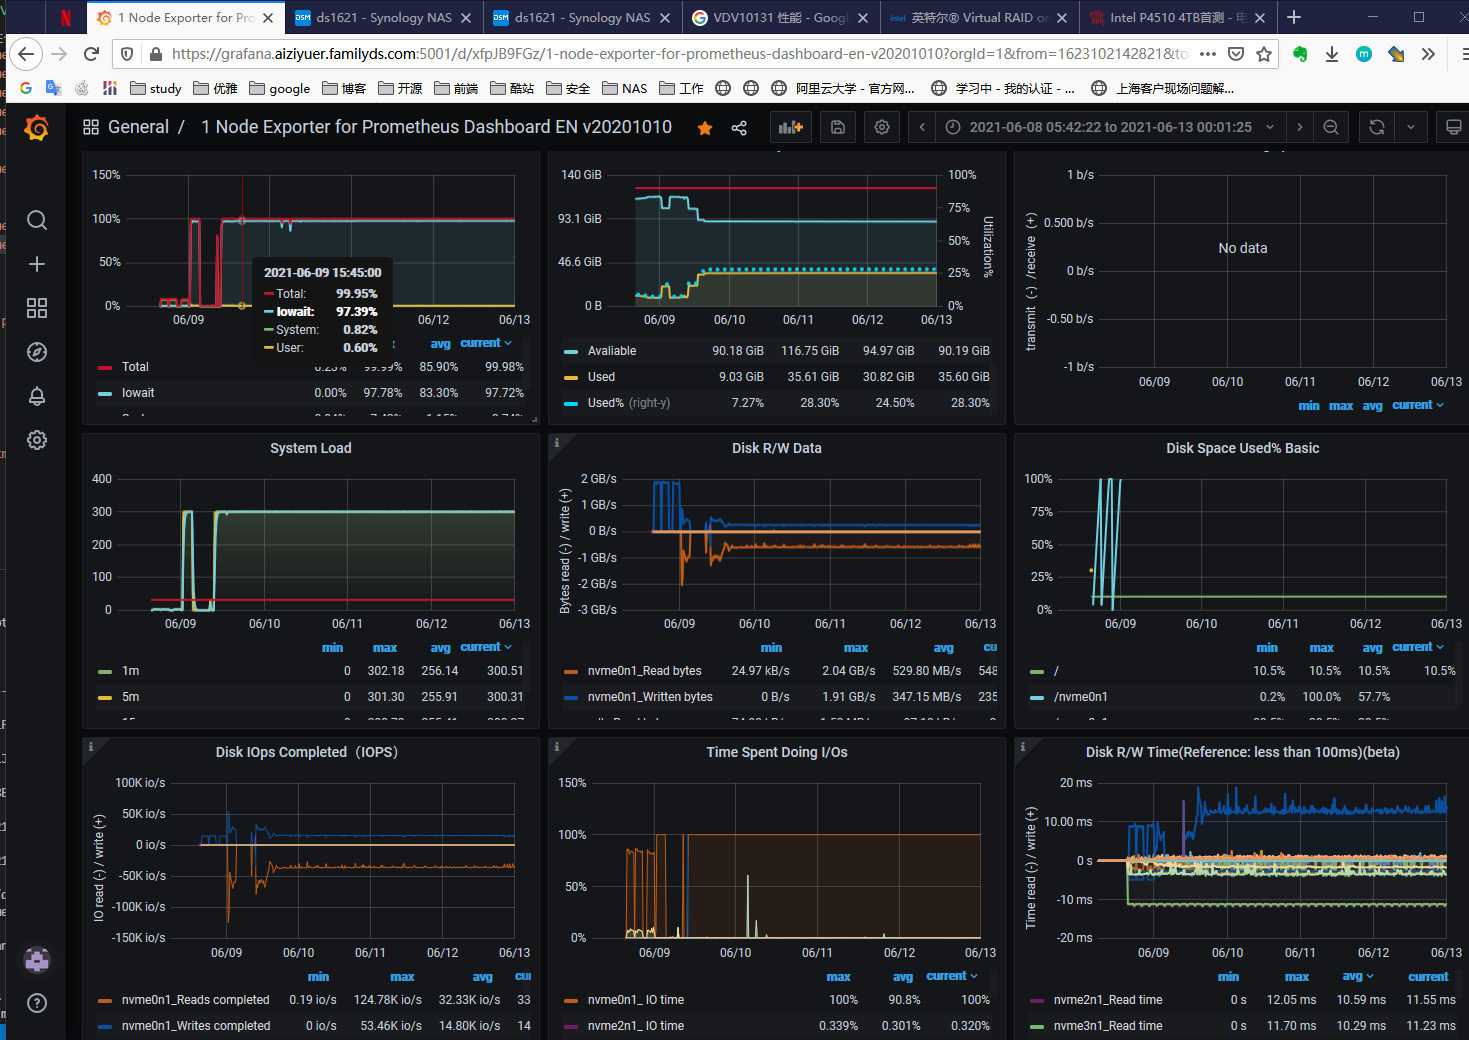
实际性能
intel P4500
FAQ
重新编译
# 安装驱动
./NVIDIA-Linux-x86_64-460.73.02-vgpu-kvm.run –no-x-check -no-nouveau-check -no-opengl-files

KBUILD_CFLAGS += -Wno-unused-but-set-variable
Loading Disqus comments...